
I decided that we need to embrace the decor in our airstream a bit and make some custom curtains. The ones that come standard were rather dull and boring.


Stitch 1/4 inch from each side of the interfacing.
Next mark top of curtain for placement of carriers using original curtain. The top of carrier should come right to the top of the curtain which means placing the top even with the edge of the interfacing. This will be your seam line when you sew them together. On the bottom the top of the carrier should come to 25 1/4 or 15 inches below the top. This puts a little tautness on the elastic. Note: if you don't have originals, it seems that carrier clips are put 2 close together on the ends where there is overlap with the next curtain and then about 5 inches apart. There are 100 clips in a full set of curtains. I got mine at curtain-tracks.com
Position carrier clips with the top at the 5/8 inch mark on the top of the curtain and stitch using a zig zag. I sewed each clip individually but you could zig over to the next clip placement.


Optional step - if your fabric is easily frayed on the edge use a serger or overlock stitch on the top and bottom edges.
Pin front and back right sides together. Remember your front fabric is wider to allow for rollover on edges. Make sure top and bottom orientation is correct.


Turn right side out and use your tool to poke corners out.


It doesn't seem like it should be so hard, right? I mean simple panels front and back, what could be complicated about that? Turns out plenty.
First off, an airstream is not straight, so the top of the curtains are smaller than the bottoms. They are lined for privacy and looks. The front fabric is rolled around the edges, again mostly for aesthetics I guess. The curtains are installed with curtain clips that are fed onto a top and bottom track which means precise measurements and re-enforcement.
So tackling this task for this new sewer provided a few challenges. Below is what I learned...a few photos a few notes.
We have a 2015 25 foot front bed twin airstream. This model has top and bottom rails 25 1/2 inches apart in both the dinette (rear) ad bedroom (front).
My engineer husband informs me that all airstreams of the same width should have the same curtain dimension. I don't know how true this is....but for modern trailers above 25 ft I think it's probably the case.
My engineer husband informs me that all airstreams of the same width should have the same curtain dimension. I don't know how true this is....but for modern trailers above 25 ft I think it's probably the case.
I started by measuring the previous curtains which were not entirely accurate but below are the numbers I decided were right. Numbers in black are finished measurements and numbers in red are what need to be cut. It would be easy to plug in your own numbers.


I used a home dec fabric and it was only 54 inches across. This meant I could only do one panel across the width so I needed the length 27 1/4 x 8, plus 1/2 yard for good measure.
Lining fabric was 64 inches across so two center panels could be cut side by side. This would reduce the yardage by the height of 27 1/4.
The 3 inch add on the front for center and end panels is a combination of a 5/8 seam allowance x 2 and a 1 3/4 inch rollover of the front fabric around the sides (a little less than an inch each side).
The lining is cut one inch less than the finished measurement (because of front rollover) but has a 5/8 seam allowance x 2, therefore the 3/4 inch add.
Length of all is 27 1/4 (26 inches plus 5/8 inch seam allowance x 2)
It's not necessary to have a serger, but I did use mine to overlock the edges top and bottom on the front fabric. This fabric had shreddy ends or else I would forgo that step.


Here are the tools I used. Tailors chalk for marking the home dec fabric and pencil for the polyester lining material. I also used an outdoor home dec thread for longevity.
To angle the cut on the sides of the fabric, subtract the top number from the bottom number and divide by 2, then mark the top of the fabric with that measurement from the outside edge. Place long ruler from bottom edge to mark at the top and draw a line.


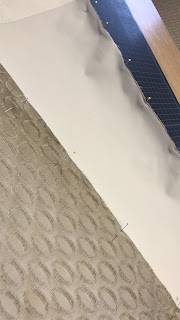
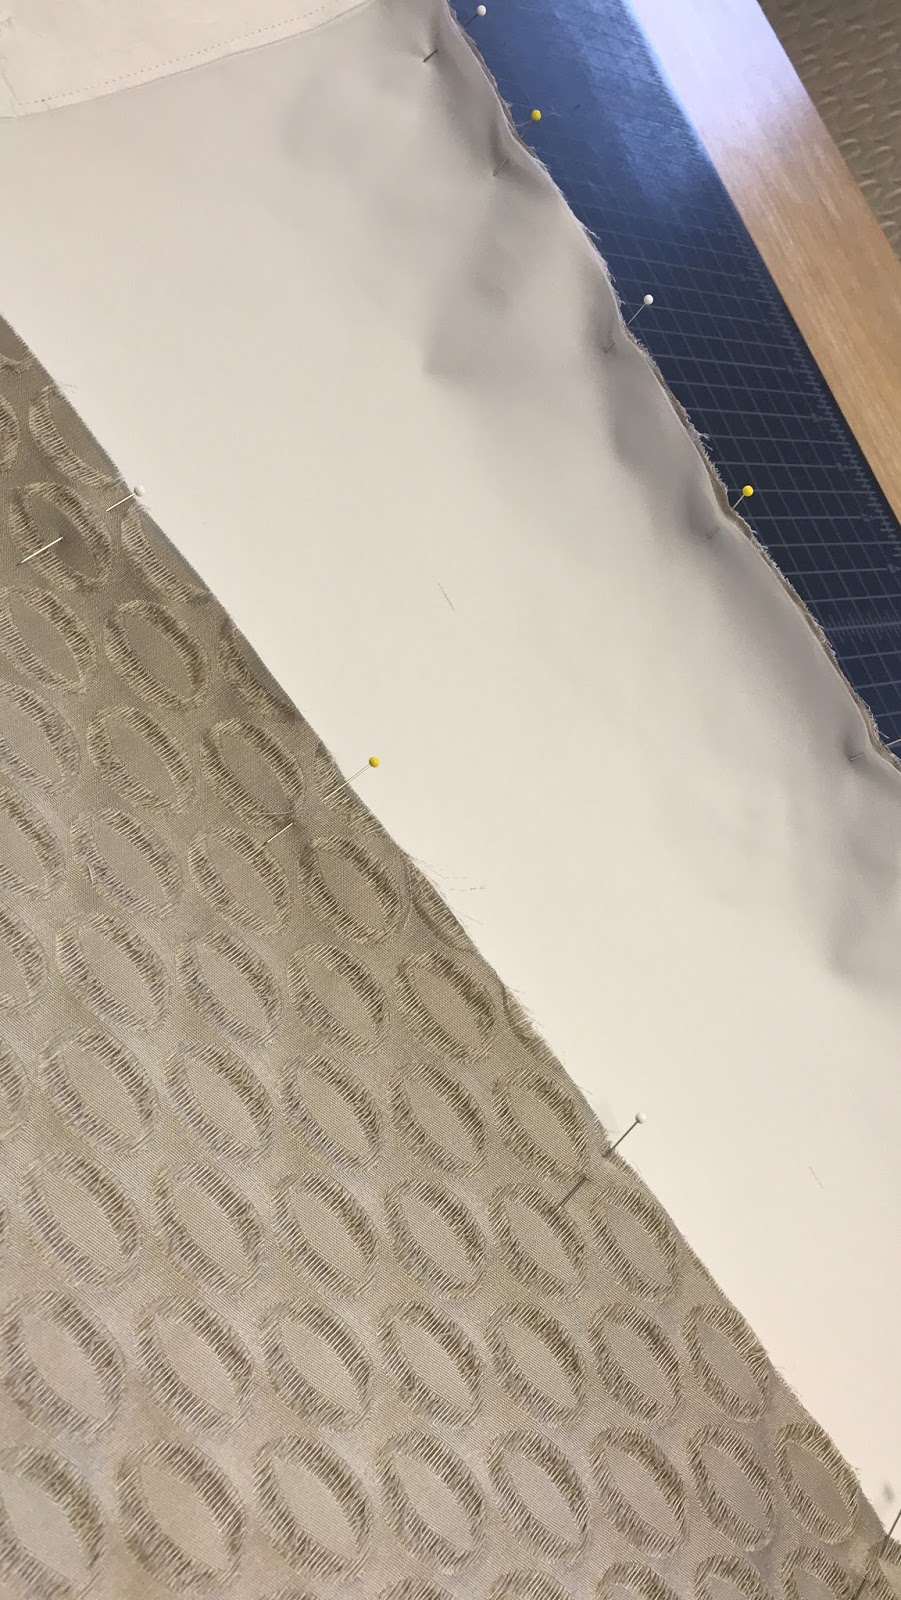
Use a heavy non fusible interfacing 3 inches wide and as long as the fabric minus the 5/8 inch seam allowance. Mark the top and bottom edges of the lining fabric on the wrong side 5/8 inch from the edges and pin the interfacing along the marked line.


Stitch 1/4 inch from each side of the interfacing.
Next mark top of curtain for placement of carriers using original curtain. The top of carrier should come right to the top of the curtain which means placing the top even with the edge of the interfacing. This will be your seam line when you sew them together. On the bottom the top of the carrier should come to 25 1/4 or 15 inches below the top. This puts a little tautness on the elastic. Note: if you don't have originals, it seems that carrier clips are put 2 close together on the ends where there is overlap with the next curtain and then about 5 inches apart. There are 100 clips in a full set of curtains. I got mine at curtain-tracks.com
 |
| top of curtain |
 |
| Bottom of curtain |


Optional step - if your fabric is easily frayed on the edge use a serger or overlock stitch on the top and bottom edges.
Pin front and back right sides together. Remember your front fabric is wider to allow for rollover on edges. Make sure top and bottom orientation is correct.

Stitch side seams. I chose to serge mine because of the fabric fraying so much.

Pin tops and bottoms together remembering to roll the front fabric around the edge an equal amount on both sides.
On the top mark a 6 or 7 inch opening for turning the fabric right side out. (Note: factory curtains were not done this way, they have their raw edges turned in and top stitched 1/4 inch from top and bottom edge. I think a true seam looks better.)
Stitch the seam on the 5/8th mark which is the edge of your interfacing. (I chose not to serge these seams in case I needed to adjust the height which is hard to do after cutting off all our seam allowance with a serger.) While pinning tuck the carrier clips down out of the way so they won't interfere with our seam.


Trim corners and grade seam allowance. On the top opening do not grade near the opening, this fabric will be turned in and whip stitched closed.


Turn right side out and use your tool to poke corners out.


Press opening edges in and pin closed. Change thread to match front fabric and top stitch 3 inches top edge. This provides strength by connecting the front fabric to the interfacing. (Note: factory originals also stitched carrier clips through both layers but I didn't like the look so I didn't and it seems fine.)

Whipstitch closed the opening where you turned the curtain.

Press seams

Add velcro where curtains overlap if desired. I stitched 1 inch by 2 inch pieces to overlapping edges.
Hang and enjoy your finished curtains!


No comments:
Post a Comment