Monday, December 10, 2018

2018 Makes

Well I've been beading, sewing and knitting, and not blogging.  So let me show you what I've been up to.   We'll categorize the various disciplines....I am all over the map and never quite sure what I'll feel like working on for a given day.

This is a pendant that I made reversible, but truth is I don't love the coloration on the reverse side, so it's kind of a moot point.  It's in process here waiting to have chain added to the bottom.  I did finish it up when I got home.  I was beading this one while at the Albuquerque balloon fiesta this past October.


Here are a sweet pair of earrings using the same technique but 1/2 the square and much daintier.


Early November I made a trip to New York to surprise my friend Miriam at a class she was giving.  The two beautiful components on the bottom are her design and the appetite stone came from Beads by Blanche.  I bead embroidered it and finished off with some chain.  There are matching earrings with no photo handy at the moment.


I love these new Tierra Cast drops so I made up a pair of CRAW cubes using 4mm pearls and crystals suspended from chain.  Easy and elegant and I love how the drop adds such texture and drama.


Next on the earring front I used the hubble bezel from my Bella earrings and changed up the bottom with a CZ drop and some straight chain.


Finally on the earring front, inspired by a kit I bought from the great Sherry Serafini, and using what I learned, I made some bigger and bolder earrings.  I love wearing these ones.


Moving onto knitting.....While air streaming the Oregon  Coast this year I tucked into a sweet little yarn shop in Cannon Beach.  I purchased this Urth yarn and did a hitchhiker with an added row of eyelet, a great knit and so fun to wear.


Finishing that up I began work on Michele Hunters Building Lace with nine different lace panels.  I used Rylie, a linen alpaca blend which is so soft, and just the right amount of weightiness.  Over 60,000 stitches later, with the addition of size 6 beads on every panel, and seven weeks of time, this one is finished and has been worn.  It's a dream.  The pattern has a lot of information, so if you've wanted to try lace and were intimidated this is a great pattern.  Michele's website also has a lot of video assist tutorials for the various techniques you'll encounter.


With Building Lace off the needles it was time to cast on this years Project Peace Cowl from Christina Campbell.  I'm using Lazer Sheeps sport weight in Dove Grey from my LYS South Park Dry Goods.


Then there is sewing....This is a tunic by Tina Givens in a white linen, it's ok.....


Then another Tina Given jacket, called Peplone.  This time I had help.  I found myself a sewing teacher and am beginning to learn things to help make truly wearable garments.  The patch on back I did by collaging some royalty free images I liked and then printed them on organza. It's a product called ExtravOrganza by Jacquard.


It's pretty wearable and I like it a lot.


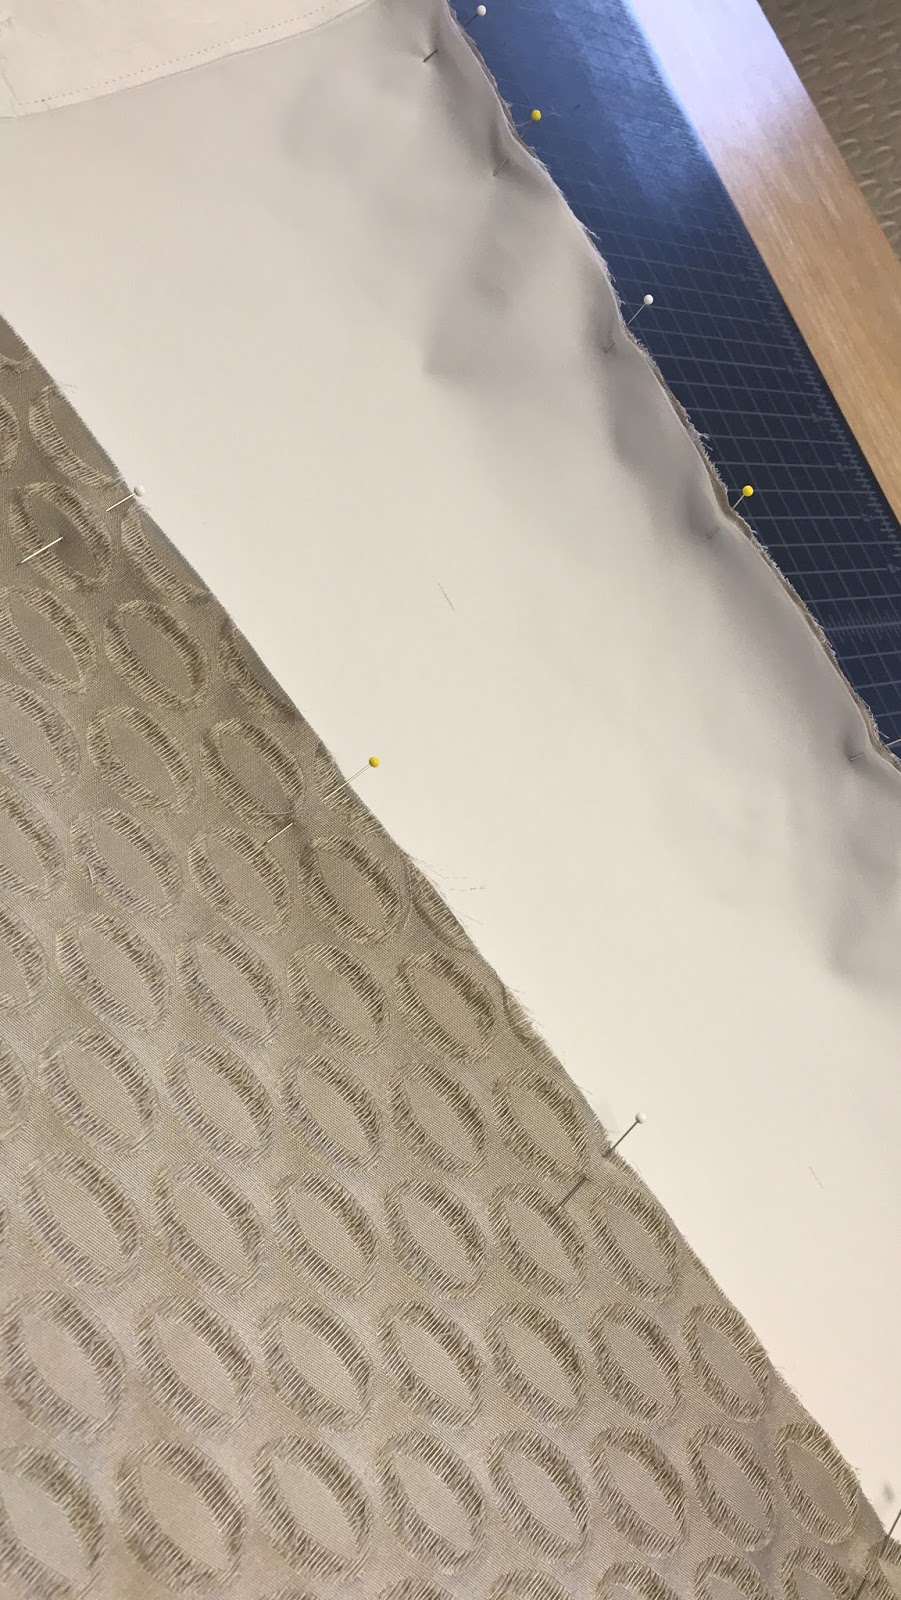
This is my prototype of a lined jacket Clare, by Closet Case.  It came out pretty good (with lot's of help).  I've since done one in a rose gold metallic brocade from Mood.  It's my best garment yet, but I don't have a decent photo.  I will share soon.


My last show and tell for sewing are these potholders.  The first one is from a panel of fabric from the ghoulies series, and the second is a set I made grand daughter Sam for her first grown up apartment.  My mother in law always made potholders until she became too ill and so I had a big potholder void. You just cannot purchase a potholder as good as one you can make.


So that is almost all my makes for the last half of the year in one place.  I also finished Mark's sweater vest, but alas no photos of that either.  Now off to finish up a new beaded pendant for teaching next year at the Heart of Texas Bead retreat in June next year.  Yes, I am retired.....but I still enjoy seeing my bead colleagues and students so I accept 2 to 4 engagements per year.


Wednesday, June 13, 2018

A new gypsy jacket

When I left you last I had the idea to make a new gypsy jacket in white linen.  I cut it out and stitched together two days before leaving on a 12 day trip to Spain.

When I returned I had exactly 5 days to get ready for a 6 week trip in the airstream.....So what did I do, I sewed.

I am sad that I will be missing my machine, although there is knitting and beading to do, both more portable.

While in Madrid I bought a pretty watercolor fabric and also a sheer polka dot embroidered fabric.


This was my first gypsy jacket.  It was short and I decided to make this one longer.


My white linen was too plain and I wasn't liking it.  I did play around with printing out a design that I did using adobe draw on the iPad.  I printed it out on extravorganza a sheer printable fabric from Jacquard.  I liked the results but still thought it was too plain.
I decided to use the polka dot which meant cutting off the bottom piece and then reattaching it with the polka dot as an overlay.  I liked it but it still needed something, so I went off in search of lace trim.  I wasn't able to find a matching cream color that I had already used so I decided to go for contrast.    Truth be told I don't really love it, but it's stitched down good now and so I think it's a garment that I'll wear at times but not a favorite.  Sometimes I wish I were less impulsive.  Had I sat with the decision longer I think I may have appreciated the white linen and perhaps a different piece of artwork.  Or maybe I would have dyed it, but oh well I am impulsive and fickle!


All in All I created a wearable garment and my skills are improving.  This pattern is by Tina  Givens www.sewtinagivens.com


And now there is packing to be done!  I have to wind yarn to finish Mark's vest.  The back is about 1/2 away from being done and fits perfectly.  I'm finding it an easy knit with beautiful yarn and it will serve me well while traveling to have a mindless knit on the needles.  Next up is Georgetown, a cardigan in a fuchsia donegal tweed.  I need to wind the yarn for that.   Susan at South Park Dry Goods took all my measurements and worked out the numbers so once the vest is done I'll be ready to start.  I also need to figure out how many and which beads to bring.  I have a project that needs inspiration, design and development by September.  I have some Gaudi photos I think I'll use for inspiration.

Sunday, May 27, 2018

Sewing has become a passion!

I finished up my fair isle sleeved sweater and cast on a cashmere and leceister wool sweater on size one needles for Mark (it's a big birthday this year, and he loves sweater vests and I love him) and I also swatched for a Georgetown for myself.....but I'm sewing, a lot!

Seater is Enrobed from Amy Herzog's knit to flatter.  I' happy with it.  The vest is from Knitting for Men and is very simple but the wool is so luscious to work on.


I finished this Marcy Tilton shirt dress with buttonholes and everything!  I absolutely love it.


 Then I made napkins because they are fast and easy and who doesn't love a beautiful cloth napkin!

I take two coordinating fabrics (from my friend  JudiPatuti's selection at South Park Dry Goods) then I cut 18 1/2 inch squares sew with 1/4 inch seams, slightly rounded corners, 4 inch opening for turning, corners snipped off, turned and corners poked out, pressed and 1/4 inch top seam all around. Easy peasy and so rewarding.


Then I packed to get ready for a trip to Spain followed by a long time in the airstream and no sewing, so, I decided to cut out a Tina Givens Gypsy jacket and have another go at it.  This is the first gypsy.  It's ok, but the skirt is a bit poofy and the workmanship is not so good.


 This time I'm doing it in softened white linen with serged seams.  So now if you'll excuse me there is sewing to be done!


Monday, May 14, 2018

Saga of the well loved baby blanket or.....

What's a grandma to do?


Here's Layla four years ago as a newborn.  She's cozy in her very pink, chunky cotton Baby Chalice blanket by Karen Lauger.  It's my favorite newborn lace blanket and I've made it often.  It's easy enough for a beginner lace knitter and with chunky yarn it goes fast.  To say Layla became attached is an understatement....This is her go to blanket and is with her always!


Although somewhere along the line she deemed it too small for covering her and asked for Grandma to make her a bigger one....and Grandma did.  However as wonderfully purple and as big as it was, it just wasn't as good.  This one is Pine Forest baby blanket  by Ingrid Aartun Bøe and I love it as well for a semi-mindless knit.  


Layla's blanket was so well loved that it was getting rather thread bare.  Since I live 8 hours south of Layla we had to come up with a strategy to have her be separated from the blanket....so with just enough left over yarn I made a scarf, same pattern, same yarn and sent it.  She was convinced while wearing her scarf to go with Mom to the post office and to send off the blanket to Gamma for fixing.  I did my best and returned it priority mail the next day......

But at this point the fibers are just worn out and for each repair a new hole emerges.  Four months from the date of this repair it became clear that we would be nearing disintegration if I didn't find a solution.


So I came up with a plan to stitch the knitting down to some flannel.  I pulled the broken fibers together as best I could and stitched around each of the leaf motifs.  I'll mail it tomorrow, I'm hoping the soft flannel and the fact she can still squish it up will make up for the fact her favorite blank-ie in the world has been altered!


 I am touched that I was able to make something so well loved!


..and she loves it...whew!


So happy that she has embraced the new design!


Monday, May 7, 2018

Curtains for an airstream 25 foot front bed twin

Warning, this is an airstream specific make which I'm posting here so folks who might benefit from the information will have access to it.  It may be of some interest if you have an rv, otherwise I'll return to my usual 'maker' content next week when I hope to show you the finished 'Enrobed' sweater by Amy Herzog.

I decided that we need to embrace the decor in our airstream a bit and make some custom curtains.  The ones that come standard were rather dull and boring.

It doesn't seem like it should be so hard, right? I mean simple panels front and back, what could be complicated about that?  Turns out plenty.

First off, an airstream is not straight, so the top of the curtains are smaller than the bottoms.  They are lined for privacy and looks.  The front fabric is rolled around the edges, again mostly for aesthetics I guess.  The curtains are installed with curtain clips that are fed onto a top and bottom track which means precise measurements and re-enforcement.  

So tackling this task for this new sewer provided a few challenges.  Below is what I learned...a few photos a few notes.

We have a 2015 25 foot front bed twin airstream.  This model has top and bottom rails 25 1/2 inches apart in both the dinette (rear) ad bedroom (front).

My engineer husband informs me that all airstreams of the same width should have the same curtain dimension. I don't know how true this is....but for modern trailers above 25 ft I think it's probably the case.

I started by measuring the previous curtains which were not entirely accurate but below are the numbers I decided were right.  Numbers in black are finished measurements and numbers in red are what need to be cut.  It would be easy to plug in your own numbers.


I used a home dec fabric and it was only 54 inches across.  This meant I could only do one panel across the width so I needed the length 27 1/4 x 8, plus 1/2 yard for good measure.

Lining fabric was 64 inches across so two center panels could be cut side by side.  This would reduce the yardage by the height of 27 1/4.

The 3 inch add on the front for center and end panels is a combination of a 5/8 seam allowance x 2 and a 1 3/4 inch rollover of the front fabric around the sides (a little less than an inch each side).

The lining is cut one inch less than the finished measurement (because of front rollover) but has a 5/8 seam allowance x 2, therefore the 3/4 inch add.

Length of all is 27 1/4 (26 inches plus 5/8 inch seam allowance x 2) 


It's not necessary to have a serger, but I did use mine to overlock the edges top and bottom on the front fabric.  This fabric had shreddy ends or else I would forgo that step.

Here are the tools I used.  Tailors chalk for marking the home dec fabric and pencil for the polyester lining material.  I also used an outdoor home dec thread for longevity.


To angle the cut on the sides of the fabric,  subtract the top number from the bottom number and divide by 2, then mark the top of the fabric with that measurement from the outside edge.  Place long  ruler from bottom edge to mark at the top and draw a line.


Use a heavy non  fusible interfacing 3 inches wide and as long as the fabric minus the 5/8 inch seam allowance.  Mark the top and bottom edges of the lining fabric on the wrong side 5/8 inch from the edges and pin the interfacing along the marked line.  

Stitch 1/4 inch from each side of the interfacing.

Next mark top of curtain for placement of carriers using original curtain.  The top of carrier should come right to the top of the curtain which means placing the top even with the edge of the interfacing.  This will be your seam line when you sew them together.  On the bottom the top of the carrier should come to 25 1/4 or 15 inches below the top.  This puts a little tautness on the elastic. Note: if you don't have originals, it seems that carrier clips are put 2 close together on the ends where there is overlap with the next curtain and then about 5 inches apart.  There are 100 clips in a full set of curtains.  I got mine at curtain-tracks.com

top of curtain
Bottom of curtain

Position carrier clips with the top at the 5/8 inch mark on the top of the curtain and stitch using a zig zag. I sewed each clip individually but you could zig over to the next clip placement.


Optional step - if your fabric is easily frayed on the edge use a serger or overlock stitch on the top and bottom edges.

Pin front and back right sides together.  Remember your front fabric is wider to allow for rollover on edges.  Make sure top and bottom orientation is correct.


Stitch side seams.  I chose to serge mine because of the fabric fraying so much.


Pin tops and bottoms together remembering to roll the front fabric around the edge an equal amount on both sides. 

On the top mark a 6 or 7 inch opening for turning the fabric right side out. (Note: factory curtains were not done this way, they have their raw edges turned in and top stitched 1/4 inch from top and bottom edge.  I think a true seam looks better.) 


Stitch the seam on the 5/8th mark which is the edge of your interfacing.  (I chose not to serge these seams in case I needed to adjust the height which is hard to do after cutting off all our seam allowance with a serger.)  While pinning tuck the carrier clips down out of the way so they won't interfere with our seam.


Trim corners and grade seam allowance.  On the top opening do not grade near the opening, this fabric will be turned in and whip stitched closed.


Turn right side out and use your tool to poke corners out.


Press opening edges in and pin closed.  Change thread to match front fabric and top stitch 3 inches top edge.  This provides strength by connecting the front fabric to the interfacing.  (Note: factory originals also stitched carrier clips through both layers but I didn't like the look so I didn't and it seems fine.)


Whipstitch closed the opening where you turned the curtain.


Press seams


Add velcro where curtains overlap if desired.  I stitched 1 inch by 2 inch pieces to overlapping edges.


Hang and enjoy your finished curtains!