Sunday, May 27, 2018

Sewing has become a passion!

I finished up my fair isle sleeved sweater and cast on a cashmere and leceister wool sweater on size one needles for Mark (it's a big birthday this year, and he loves sweater vests and I love him) and I also swatched for a Georgetown for myself.....but I'm sewing, a lot!

Seater is Enrobed from Amy Herzog's knit to flatter.  I' happy with it.  The vest is from Knitting for Men and is very simple but the wool is so luscious to work on.


I finished this Marcy Tilton shirt dress with buttonholes and everything!  I absolutely love it.


 Then I made napkins because they are fast and easy and who doesn't love a beautiful cloth napkin!

I take two coordinating fabrics (from my friend  JudiPatuti's selection at South Park Dry Goods) then I cut 18 1/2 inch squares sew with 1/4 inch seams, slightly rounded corners, 4 inch opening for turning, corners snipped off, turned and corners poked out, pressed and 1/4 inch top seam all around. Easy peasy and so rewarding.


Then I packed to get ready for a trip to Spain followed by a long time in the airstream and no sewing, so, I decided to cut out a Tina Givens Gypsy jacket and have another go at it.  This is the first gypsy.  It's ok, but the skirt is a bit poofy and the workmanship is not so good.


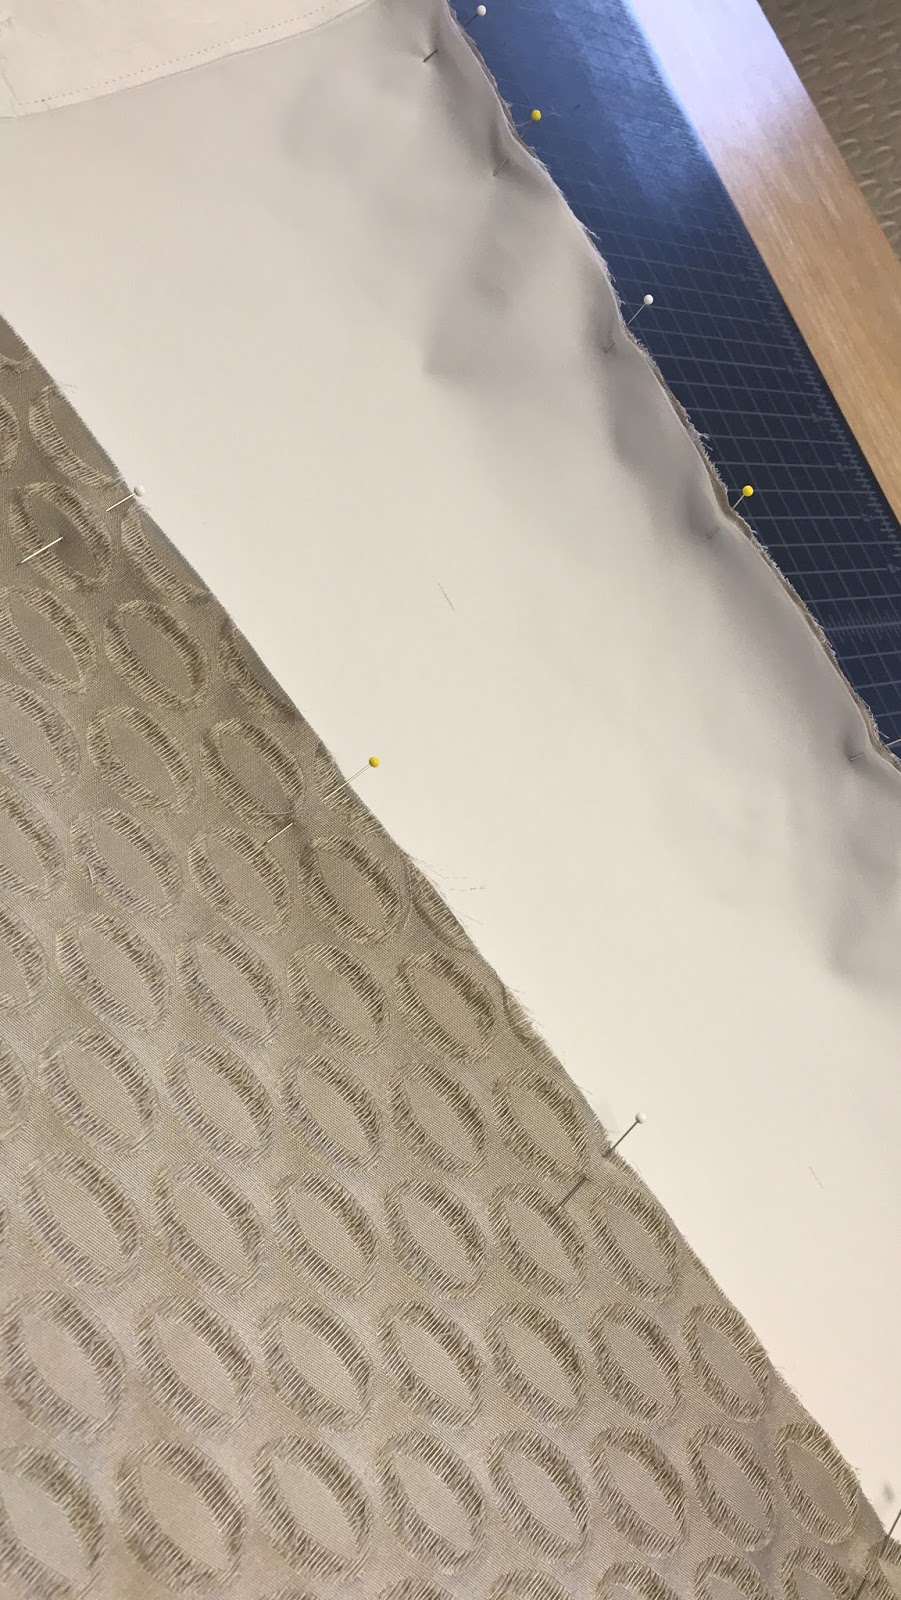
 This time I'm doing it in softened white linen with serged seams.  So now if you'll excuse me there is sewing to be done!


Monday, May 14, 2018

Saga of the well loved baby blanket or.....

What's a grandma to do?


Here's Layla four years ago as a newborn.  She's cozy in her very pink, chunky cotton Baby Chalice blanket by Karen Lauger.  It's my favorite newborn lace blanket and I've made it often.  It's easy enough for a beginner lace knitter and with chunky yarn it goes fast.  To say Layla became attached is an understatement....This is her go to blanket and is with her always!


Although somewhere along the line she deemed it too small for covering her and asked for Grandma to make her a bigger one....and Grandma did.  However as wonderfully purple and as big as it was, it just wasn't as good.  This one is Pine Forest baby blanket  by Ingrid Aartun Bøe and I love it as well for a semi-mindless knit.  


Layla's blanket was so well loved that it was getting rather thread bare.  Since I live 8 hours south of Layla we had to come up with a strategy to have her be separated from the blanket....so with just enough left over yarn I made a scarf, same pattern, same yarn and sent it.  She was convinced while wearing her scarf to go with Mom to the post office and to send off the blanket to Gamma for fixing.  I did my best and returned it priority mail the next day......

But at this point the fibers are just worn out and for each repair a new hole emerges.  Four months from the date of this repair it became clear that we would be nearing disintegration if I didn't find a solution.


So I came up with a plan to stitch the knitting down to some flannel.  I pulled the broken fibers together as best I could and stitched around each of the leaf motifs.  I'll mail it tomorrow, I'm hoping the soft flannel and the fact she can still squish it up will make up for the fact her favorite blank-ie in the world has been altered!


 I am touched that I was able to make something so well loved!


..and she loves it...whew!


So happy that she has embraced the new design!


Monday, May 7, 2018

Curtains for an airstream 25 foot front bed twin

Warning, this is an airstream specific make which I'm posting here so folks who might benefit from the information will have access to it.  It may be of some interest if you have an rv, otherwise I'll return to my usual 'maker' content next week when I hope to show you the finished 'Enrobed' sweater by Amy Herzog.

I decided that we need to embrace the decor in our airstream a bit and make some custom curtains.  The ones that come standard were rather dull and boring.

It doesn't seem like it should be so hard, right? I mean simple panels front and back, what could be complicated about that?  Turns out plenty.

First off, an airstream is not straight, so the top of the curtains are smaller than the bottoms.  They are lined for privacy and looks.  The front fabric is rolled around the edges, again mostly for aesthetics I guess.  The curtains are installed with curtain clips that are fed onto a top and bottom track which means precise measurements and re-enforcement.  

So tackling this task for this new sewer provided a few challenges.  Below is what I learned...a few photos a few notes.

We have a 2015 25 foot front bed twin airstream.  This model has top and bottom rails 25 1/2 inches apart in both the dinette (rear) ad bedroom (front).

My engineer husband informs me that all airstreams of the same width should have the same curtain dimension. I don't know how true this is....but for modern trailers above 25 ft I think it's probably the case.

I started by measuring the previous curtains which were not entirely accurate but below are the numbers I decided were right.  Numbers in black are finished measurements and numbers in red are what need to be cut.  It would be easy to plug in your own numbers.


I used a home dec fabric and it was only 54 inches across.  This meant I could only do one panel across the width so I needed the length 27 1/4 x 8, plus 1/2 yard for good measure.

Lining fabric was 64 inches across so two center panels could be cut side by side.  This would reduce the yardage by the height of 27 1/4.

The 3 inch add on the front for center and end panels is a combination of a 5/8 seam allowance x 2 and a 1 3/4 inch rollover of the front fabric around the sides (a little less than an inch each side).

The lining is cut one inch less than the finished measurement (because of front rollover) but has a 5/8 seam allowance x 2, therefore the 3/4 inch add.

Length of all is 27 1/4 (26 inches plus 5/8 inch seam allowance x 2) 


It's not necessary to have a serger, but I did use mine to overlock the edges top and bottom on the front fabric.  This fabric had shreddy ends or else I would forgo that step.

Here are the tools I used.  Tailors chalk for marking the home dec fabric and pencil for the polyester lining material.  I also used an outdoor home dec thread for longevity.


To angle the cut on the sides of the fabric,  subtract the top number from the bottom number and divide by 2, then mark the top of the fabric with that measurement from the outside edge.  Place long  ruler from bottom edge to mark at the top and draw a line.


Use a heavy non  fusible interfacing 3 inches wide and as long as the fabric minus the 5/8 inch seam allowance.  Mark the top and bottom edges of the lining fabric on the wrong side 5/8 inch from the edges and pin the interfacing along the marked line.  

Stitch 1/4 inch from each side of the interfacing.

Next mark top of curtain for placement of carriers using original curtain.  The top of carrier should come right to the top of the curtain which means placing the top even with the edge of the interfacing.  This will be your seam line when you sew them together.  On the bottom the top of the carrier should come to 25 1/4 or 15 inches below the top.  This puts a little tautness on the elastic. Note: if you don't have originals, it seems that carrier clips are put 2 close together on the ends where there is overlap with the next curtain and then about 5 inches apart.  There are 100 clips in a full set of curtains.  I got mine at curtain-tracks.com

top of curtain
Bottom of curtain

Position carrier clips with the top at the 5/8 inch mark on the top of the curtain and stitch using a zig zag. I sewed each clip individually but you could zig over to the next clip placement.


Optional step - if your fabric is easily frayed on the edge use a serger or overlock stitch on the top and bottom edges.

Pin front and back right sides together.  Remember your front fabric is wider to allow for rollover on edges.  Make sure top and bottom orientation is correct.


Stitch side seams.  I chose to serge mine because of the fabric fraying so much.


Pin tops and bottoms together remembering to roll the front fabric around the edge an equal amount on both sides. 

On the top mark a 6 or 7 inch opening for turning the fabric right side out. (Note: factory curtains were not done this way, they have their raw edges turned in and top stitched 1/4 inch from top and bottom edge.  I think a true seam looks better.) 


Stitch the seam on the 5/8th mark which is the edge of your interfacing.  (I chose not to serge these seams in case I needed to adjust the height which is hard to do after cutting off all our seam allowance with a serger.)  While pinning tuck the carrier clips down out of the way so they won't interfere with our seam.


Trim corners and grade seam allowance.  On the top opening do not grade near the opening, this fabric will be turned in and whip stitched closed.


Turn right side out and use your tool to poke corners out.


Press opening edges in and pin closed.  Change thread to match front fabric and top stitch 3 inches top edge.  This provides strength by connecting the front fabric to the interfacing.  (Note: factory originals also stitched carrier clips through both layers but I didn't like the look so I didn't and it seems fine.)


Whipstitch closed the opening where you turned the curtain.


Press seams


Add velcro where curtains overlap if desired.  I stitched 1 inch by 2 inch pieces to overlapping edges.


Hang and enjoy your finished curtains!


Wednesday, May 2, 2018

All for Love


I do love a pretty graphic.....Papaya arts.  This carries my sewing supplies.


So....I've been sewing.  Last week a new coat and this week a ruffled skirt for a special about to be four year old.   I'm in love with my new serger but I also have a healthy respect for the learning  curve to I'm not sure I will be trying to serge these round seams with gathers. But I did use it to make a nice clean side seam.  It's a thing of beauty and so easy and neat.


Here's the pattern  chose and three pretty pink fabrics.  I have to say ruffles are a bit fussy....


But in the end I think I did a pretty good job!  Now off to find a peasant blouse to compliment this cute little skirt.  I had to ask where the rick rack was kept at the fabric store and the first young gal had no idea what I meant....is rick rack that dated?


I also managed an earring session and finished up a pendant I started when I was in New Orleans.


and...an update, the little birthday girl in her skirt!


I've always loved this button and it was time to put it to good use.  The pendant is of course reversible, but I didn't capture the other side so you'll have to take my word for it.


Three pairs of earrings, two with bezeled rivolis, one with a chaton top and a pave teardrop and the other with beautiful chalcedony, a beautiful type of quartz. I've been hoarding them forever, so time to put them to use.


The third pair are bead embroidery thanks to friend Sherry Serafini whose pattern this is.  I used my own buttons and added some chain and used a bigger cup chain, but the design work all belongs to the brilliance of Sherry.


So that is all the fun I've indulged in and now it's time for a little more mundane....sewing curtains for the airstream.  Tomorrow I will cut out and stitch a prototype before embarking on the eight panels required.  I hope I'll be showing you the hung curtains next week.  The fabric is subdued but elegant and was a marital compromise as are most things airstream related.